x97wehner
-
Posts
512 -
Joined
-
Last visited
-
Days Won
29
Content Type
Profiles
Forums
Gallery
Downloads
Articles
Store
Blogs
Everything posted by x97wehner
-
I've been swamped the last couple days. Plan to get back to it this weekend. Thanks.
-
I fixed this one using another post on the forum. Now I have an issue with revslider module used in Warehouse theme. This is the issue. Have you encountered? If so, how is this resolved?

-
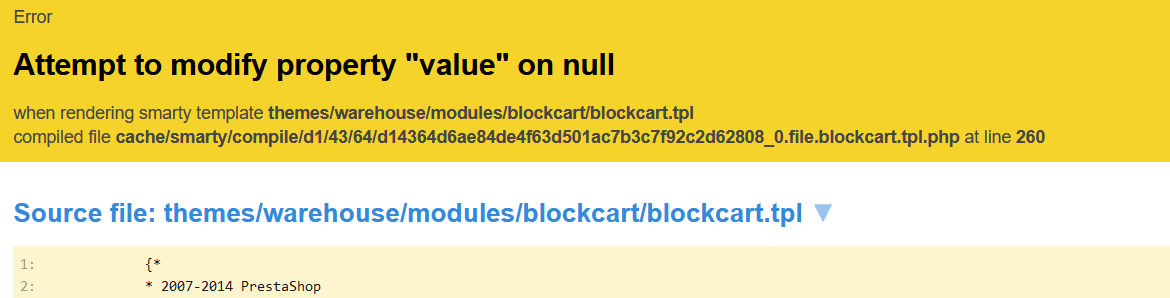
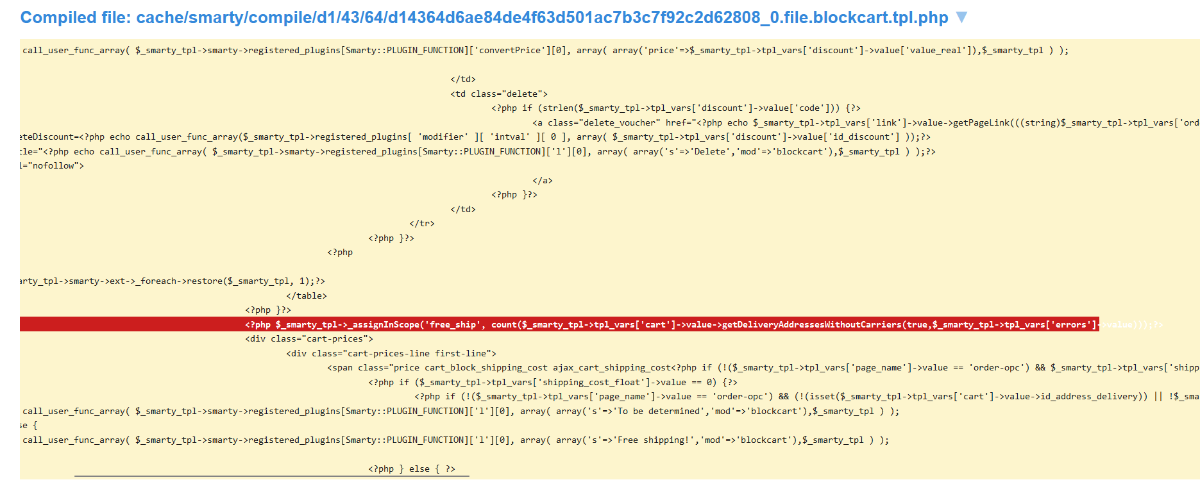
I'm testing this out today. I added your revisions, but am getting this error currently. Any idea how to fix?
-
Just attempting to move to PHP 8+ and this helps a ton. Have you run into any other issues/fixes?
-
Yes, seems more fitting. Was just struggling to understand why it would be there in the first place out of the box instead of the reference_order field as you've mentioned.
-
Alright. It seems to be not customer facing anywhere but here so I think I'll remove it from this page. It's not on their order confirmation email either. Just wanted to verify if a customer would ever need to see it before I did. Thanks.
-
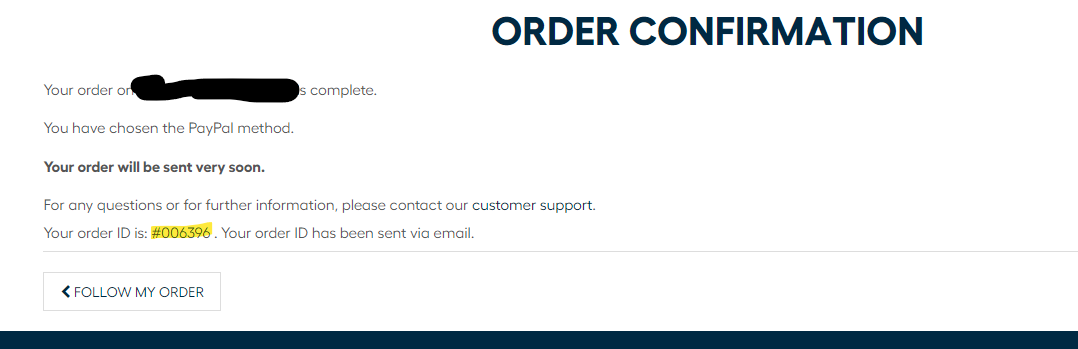
Wondering if anyone can tell me where this order ID that displays out of the box on the order confirmation page for guests is coming from? I don't see it anywhere in the system. It's close to the invoice on the order but different. Definitely different that the order reference as well?
-
Hello, I have uncovered a bug with @datakick's chex module. A free order does allow correct submission of the order. Example is customer enters order and adds warranty/promotion code that makes the product and shipping free. The checkout still prompts the user to select a payment provider and displays a "Pay $0.00" button at the bottom of the checkout. Selecting the button attempts to route the free order to the selected payment provider and it errors out without order completion. I tested this same flow without Chex enabled and native TB checkout shows the "I confirm my order" button and does not prompt for payment provider selection in the same scenario. Clicking the button completes the order.
-
Thank you for the help on that. I will give it try.
-
 Hello, I have a amazon sync module for PS 1.6 that the developer told me they will not support with TB 1.4 since there is no class = attribute anymore. I'm sure @datakick has a solution for this with the latest version. If there is one, can you outline how to fix it please? I can share more info if needed. This is a big problem for us. Thanks
 -
Kind of what I was figuring. Thanks for confirming my suspicions.
-
I originally posted this under a different folder, but think it may get missed there. I'm curious on the module's usage and whether it should be enabled or not on my site. Currently, I use @datakick's reviews module and it works great. Given that information, is there any value in using this JSON module for everything else within it? Can they work together correctly or does it create conflicts that will break SEO?
-
how to display blocklayered filter on the homepage?
x97wehner replied to Beeta's topic in Other native modules
I expect the easiest would be for your theme to have a homepage component that allows modules to be added. Then you'd be able to easily put it where you wish. Otherwise it would require some code to get a hook that would allow it as I doubt that hook would be native to that module. I could be wrong though. -
Bringing this back to the top for some guidance on it's usage and whether it should be enabled or not on my site. Currently, I use @datakick's reviews module and it works great. Given that information, is there any value in using this JSON module for everything else within it? Can they work together correctly or does it create conflicts that will break SEO?
-
-
Hi. I currently use SendInBlue for our digital marketing efforts. But they've now discontinued support for PS 1.6, removed the module from their site, and only support PS 1.7. Their current module that I already have, doesn't fully work anymore because of this. I'm curious what other comparable tools others may be using that natively integrate with TB?
-
I just checked my site and I do not have the same issue. The only setting that I can see different is the last checkbox to disable Apache mod_security. Mine is set to yes. Not sure that this will resolve your issue though.
-
Oh, wait, I'm getting somewhere now. I didn't have my subdomain cleared to access the API. Now that I added it to the website credentials, it seems to be working. Thanks for the help @the.rampage.rado
-
Thanks. I found it. Inserted the API I just created but now getting a different error. Any other secrets to getting this functioning?
-
Where is that setting? I don't see it on the locator menu.
-
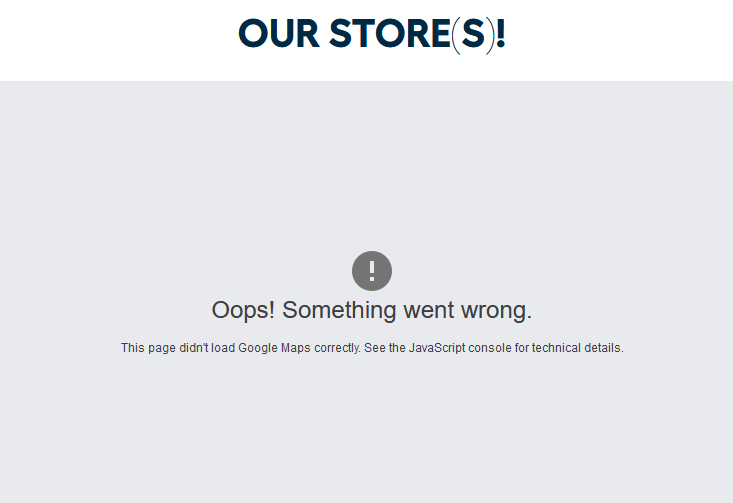
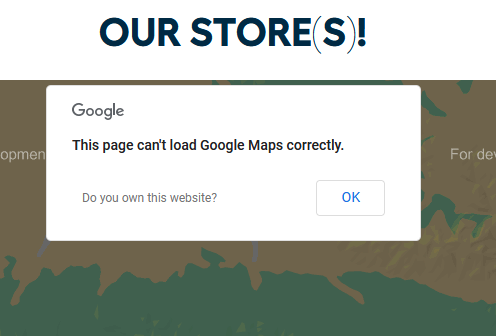
I thought I would just be able to turn this on, but the map doesn't seem to work correctly. It throws up a window saying that it can't load the google maps correctly as shown below. I checked the demo TB store on the website and it's doing the same thing. Anyone else seen this previously or know how to resolve?
-
Good to know
-
We use stripe, which allows afterpay installments. The TB module is not current with the latest API so you can't just have a pay option in checkout for afterpay. But if they click into stripe, it is presented as an option to finish payment. I assume TB gets a cut of every payment processed so I am very surprised they have not kept the module up to date.
-
Yes, it's still a little clunky, but far better than it was prior. I find it a bit easier for our company to just manually enter B2B orders so we can adjust pricing for product and shipping a little easier. We don't do that many b2b so it's easier than maintaining another set of prices in the system.
-
@datakickAlright, found a new bug. Everything seems to work fine on the page all the way through, until the actual payment processing. When the customer clicks button to make payment at the bottom, they redirect to processor whose page is receiving only the amount that appeared when the chex page originally loaded. Not the revised amount based upon customer selections. I have had multiple people complaining about the error in the last 2 weeks and was forced to roll back to version 0.8 to get around it.